

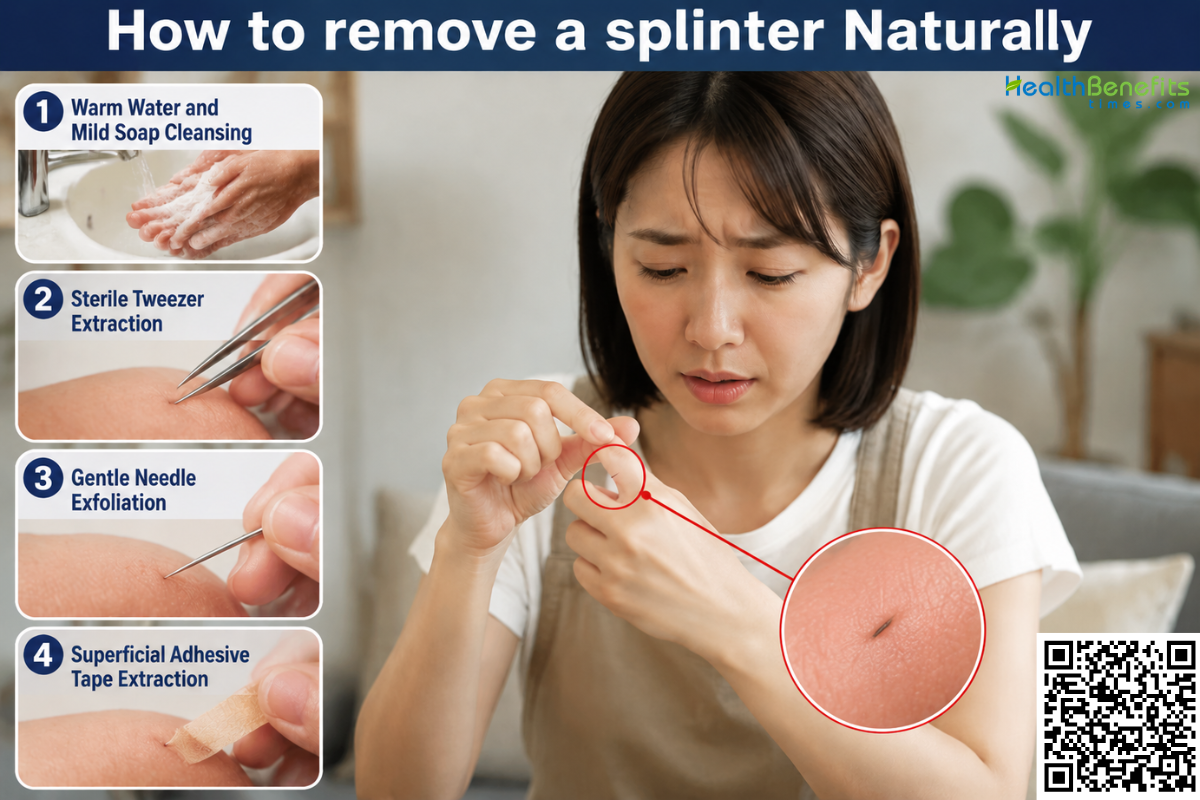
Causes of splinter
- Wood fragments: Handling unfinished wood, chopping firewood, or walking barefoot on wooden decks frequently forces small wooden shards beneath the skin. 1
- Glass shards: Accidental contact with shattered glass, such as picking up broken items or stepping on unseen fragments, easily drives sharp pieces into the tissue. 1
- Metal shavings: Machining processes, construction tasks, or handling frayed metal cables can result in tiny metal fragments or wire clippings penetrating the skin barrier. 4
- Organic plant matter: Gardening, landscaping, or walking through dense vegetation exposes the skin to thorns, cactus spines, and plant needles that can break off and lodge in the skin. 4
- Synthetic materials: Working with broken plastic objects or handling fiberglass insulation can introduce rigid plastic shards or fine, glass-like fibers into the upper layers of the skin. 4
Symptoms of splinter
- Visible speck or line: A small speck, dark line, or visible fragment of material can often be seen resting just beneath the surface of the skin. 1
- Localized pain and tenderness: The area immediately surrounding the embedded fragment typically experiences a sharp sensation upon entry and remains sensitive, especially when touched or pressed. 1
- Redness and swelling: Because the body recognizes the splinter as a foreign object, it triggers a mild inflammatory response that causes the skin around the entry wound to become red, swollen, and slightly raised. 4
- Pus formation and fluid discharge: If bacteria enter the wound alongside the object, or if the splinter is left under the skin, a white or yellow pocket of pus may develop as a sign of a localized infection. 1
- Warmth and throbbing sensation: An infected splinter site will often feel abnormally warm to the touch and produce a throbbing ache that steadily worsens over time rather than improving. 1
How to remove a splinter Naturally
1. Warm Water and Mild Soap Cleansing
How it may help
Soaking the affected area in warm water and mild soap serves two primary purposes: it cleans the wound site and softens the surrounding skin. Softened skin reduces resistance, allowing superficial splinters to shift closer to the surface for easier extraction while minimizing the risk of skin trauma 1.
What research says
Clinical guidelines emphasize that washing with soap and water is the critical first step in foreign body removal to prevent secondary bacterial infections. Standard medical protocols advise thoroughly cleansing the entry point before any extraction attempt to wash away surface pathogens that could enter the open tissue 1.
How to use it safely
Wash your hands thoroughly first. Gently cleanse the splintered area with warm water and mild soap for a few minutes. Pat the skin dry with a clean cloth instead of rubbing, which could force the splinter deeper or cause it to break beneath the skin 1.
Potential precautions or side effects
Avoid soaking wooden splinters for extended periods, as wood can absorb water, swell, and become much harder to extract without fragmenting under the skin 4.
2. Sterile Tweezer Extraction
How it may help
Using a sterilized pair of tweezers allows for a precise, mechanical grip on the exposed end of a foreign object. This method enables the direct extraction of the fragment by pulling it out along the exact path it entered, minimizing damage to the surrounding skin tissue 1.
What research says
Medical guidelines recommend manual extraction using sterilized tweezers as the primary treatment for splinters that visibly protrude above the skin’s surface. Clinical protocols emphasize that proper instrument sterilization is essential to prevent introducing bacteria into the open wound, which prevents secondary infections 1.
How to use it safely
First, wipe the tips of the tweezers with rubbing alcohol to sterilize them. Grip the visible end of the splinter firmly but gently. Carefully pull the fragment out at the exact angle it entered the skin. Afterward, wash the area thoroughly with soap and water 1.
Potential precautions or side effects
Avoid squeezing the splinter too tightly, as fragile materials can break beneath the skin. Do not dig into the tissue, as this increases tissue damage and infection risk 1.
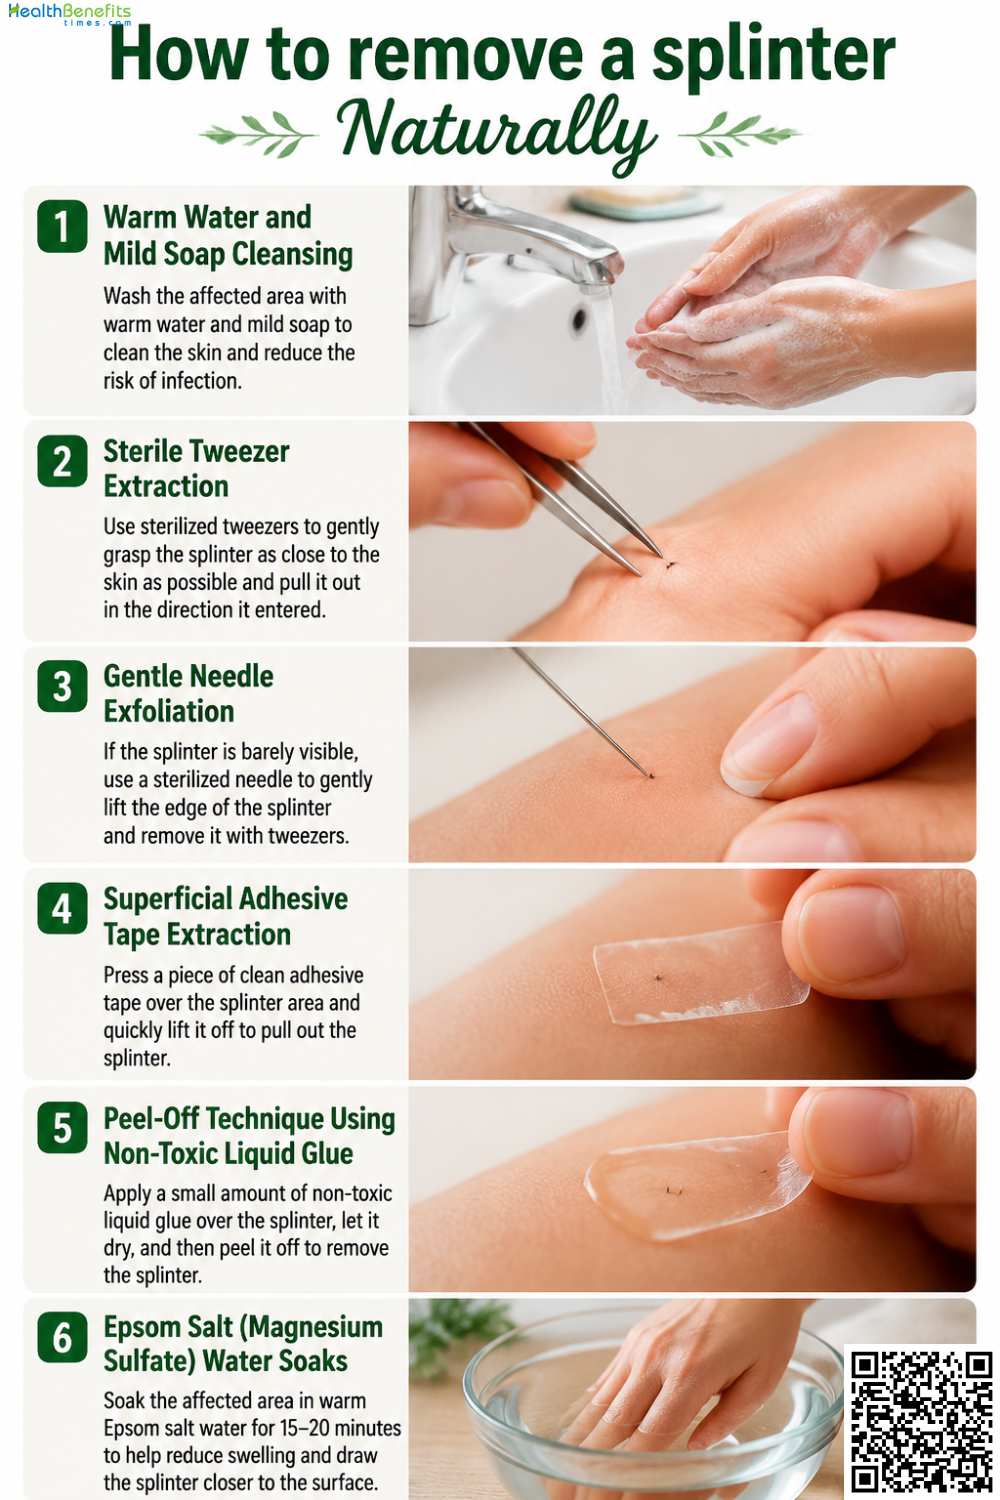
3. Gentle Needle Exfoliation
How it may help
When a foreign object is trapped entirely beneath the skin with no exposed end, gentle needle exfoliation creates a small opening in the uppermost skin layer. This technique safely lifts the covering tissue to expose a portion of the fragment, allowing it to be gripped and extracted using tweezers 1.
What research says
Clinical guidelines recommend using a sterilized needle to assist in removing fully embedded splinters. Medical protocols indicate that unroofing the top layer of skin with a needle safely exposes the object for tweezer removal, significantly reducing tissue trauma compared to attempting to squeeze the fragment out 1.
How to use it safely
First, wipe a sewing needle with rubbing alcohol to sterilize it. Gently insert the needle tip just under the skin layer covering the splinter. Carefully lift and break the skin to expose the object’s end, then grip it with sterilized tweezers to pull it out 1.
Potential precautions or side effects
Do not probe deeply into the tissue, as this increases pain, bleeding, and infection risk. If the object remains stuck, seek professional medical evaluation 1.
4. Superficial Adhesive Tape Extraction
How it may help
Adhesive tape provides a gentle, non-invasive method for extracting multiple fragile or extremely tiny splinters, such as plant stickers or fiberglass 5. By applying a sticky surface over the area, the tape adheres to the microscopic protruding ends, allowing them to be pulled out simultaneously without squeezing or probing the skin 5.
What research says
Pediatric and emergency medical protocols recommend using adhesive tape for superficial, hard-to-grasp fragments. Clinical guidelines note that using tweezers on fragile materials like plant spines or fiberglass often causes them to break beneath the skin 5. Tape successfully captures these tiny protruding elements, significantly reducing tissue trauma and the risk of retained fragments 5.
How to use it safely
First, select a highly adhesive tape like packaging or duct tape. Lightly touch the sticky side to the skin over the splinters without pressing too firmly, which could drive them deeper. Gently peel the tape away to lift the fragments out, then wash the area thoroughly 5.
Potential precautions or side effects
Avoid using tape for deeply embedded splinters, as it is ineffective. Do not wash the area before extraction, as this can push fragile fragments deeper into the skin 5.
5. Peel-Off Technique Using Non-Toxic Liquid Glue
How it may help
Applying non-toxic liquid glue creates a tight, flexible bond over multiple tiny or fragile fragments, such as plant spines or fiberglass 6. As the glue dries, it adheres directly to the microscopic protruding ends, allowing them to be pulled out cleanly without painful squeezing or digging into the skin.
What research says
Clinical evaluations comparing extraction methods for fine plant spines demonstrate that using liquid glue is highly effective. Studies indicate that applying glue, allowing it to dry, and peeling it off successfully removes microscopic, brittle spines that tweezers miss, significantly reducing tissue inflammation compared to other methods 6.
How to use it safely
Apply a thin layer of non-toxic white school glue directly over the splinters. You may gently press a piece of gauze into the wet glue. Allow it to dry completely for about thirty minutes, then peel it off in one fluid motion to extract the fragments 6.
Potential precautions or side effects
Never use superglue, as it can damage tissue, tear the skin, and cause allergic reactions 7. Additionally, this technique is completely ineffective for deeply embedded objects.
6. Epsom Salt (Magnesium Sulfate) Water Soaks
How it may help
Epsom salt, or magnesium sulfate, dissolved in warm water helps draw fluid from the surrounding tissue through osmosis. This process reduces localized swelling and softens the skin, which can help a shallow splinter migrate closer to the surface, making it easier to extract without causing additional tissue damage 8.
What research says
Magnesium sulfate is an FDA-approved compound utilized clinically for soaking minor cuts and bruises 8. Medical guidelines note that its osmotic properties help reduce localized tissue edema, while warm water soaking assists in softening the epidermal barrier, safely preparing the wound site for foreign body removal 1.
How to use it safely
Dissolve a small amount of Epsom salt into a basin of warm water. Soak the affected area for 10 to 15 minutes to allow the skin to soften. Afterward, gently pat the area dry and extract the exposed splinter using sterilized tweezers 8.
Potential precautions or side effects
Avoid Epsom salt soaks if the wound is actively bleeding or shows severe signs of infection. Prolonged soaking can cause wooden splinters to swell, making them harder to remove 4.
When to see Doctor when you struggle from splinter
- Deeply Embedded Fragments: Seek professional medical evaluation if the object is firmly stuck, deeply embedded, or breaks off completely under the skin during a removal attempt. 1
- Location Near the Eye: Immediate medical attention is required if the splinter is located in or near the eye, as improper removal can cause severe tissue damage. 1
- Beneath the Nail: Splinters lodged firmly beneath a fingernail or toenail often require professional extraction because the nail barrier makes safe and complete home removal difficult. 1
- Signs of Infection: Consult a healthcare provider if the site develops increased swelling, spreading redness, excessive warmth, or pus, which indicate a developing bacterial infection. 1
- Tetanus Immunization Risk: Seek medical care if the wound is deep and dirty, and it has been more than five years since your last tetanus booster shot. 1
Comments
comments