Phosphorus (49.00%)
Calcium (21.70%)
Potassium (10.74%)
Iron (5.13%)
Carbohydrate (1.81%)
Baking powder is actually a dry chemical leavening agent, which is a mixture of a carbonate or bicarbonate and a weak acid and is used for increasing the volume and lightening the texture of baked goods. Baking powder is made up of Baking soda (sodium bicarbonate, NaHCO3), cream of tartar (potassium bitartrate, C4H5KO6), and cornstarch. Baking powder works by releasing carbon dioxide gas into a batter or dough through an acid-base reaction, causing bubbles in the wet mixture to expand and thus leavening the mixture. It is used instead of yeast for end-products where fermentation flavors would be undesirable or where the batter lacks the elastic structure to hold gas bubbles for more than a few minutes, or to speed the production.
All baking powders consist of sodium bicarbonate (just like baking soda). But baking powder also contains two acids. One of these acids is called monocalcium phosphate. Monocalcium phosphate doesn’t react with the sodium bicarbonate while it’s dry. But as soon as the baking powder is stirred into a wet dough or batter, the two ingredients begin to react, releasing bubbles of CO2 and causing chemical leavening.
Baking powder was discovered by English food manufacturer Alfred Bird in 1843.It is used instead of yeast for end-products where fermentation flavors would be undesirable or where the batter lacks the elastic structure to hold gas bubbles for more than a few minutes, or to speed the production. Because carbon dioxide is released at a faster rate through the acid-base reaction than through fermentation, breads made by chemical leavening are called quick breads.
History
In 1856, chemist Eben Norton Horsford patented the first modern baking powder. Horsford originally extracted monocalcium phosphate by boiling animal bones. The monocalcium phosphate acted as an acid that combined with baking soda to create a reaction producing C02.
By the 1880s, Horsford’s company switched to mining the monocalcium phosphate to lower costs. He placed the two ingredients together in one container, adding cornstarch to soak up moisture, which prevented the ingredients from reacting prematurely. The company he created became known as Rumford.
Types
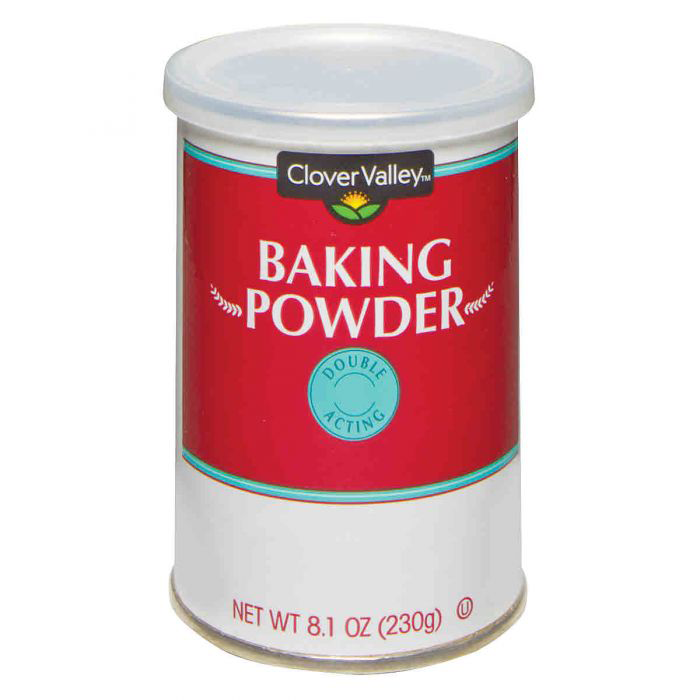
There are two categories of baking powders: single acting and double acting.
Single-acting baking powders
Single-acting baking powders instantly produce most of their gas when mixed with a liquid. They are classified by the type of acid they utilize. Those that contain cream of tartar and tartaric acid (C4H606) create gas rapidly when mixed with baking soda and a liquid. These batters must be cooked quickly or they will go flat. Slower single-acting baking powders are phosphate baking powders that contain either calcium phosphate (Ca3O8P2) or disodium pyrophosphate (H2Na2O7P2). Aluminum sulfate (AI2012S3) powders react more slowly at room temperature but give a bitter taste to the batter.
Double-acting baking powders
Most commercial baking powders are double-acting. These means that initially a small amount of gas is released when it is mixed with a liquid. The primary generation of gas occurs when the batter is heated during cooking. These types of powders allow a batter to be left in an unbaked condition for long periods of time. Often double-acting baking powders have two acids, one which reacts immediately and one that reacts when heated.
A less often used third type of baking powder is baker’s ammonia. It results in a light, airy product but can impart an ammonia flavor if not used properly. It is best used in the production of flat cookies, helping to dissipate the ammonia odor during cooking.
Generally one teaspoon (5 grams (0.18 oz.)) of baking powder is used to raise a mixture of one cup (125 g) of flour, one cup of liquid, and one egg. However, if the mixture is acidic, baking powder’s additional acids will remain unconsumed in the chemical reaction and often lend an unpleasant taste to food. High acidity can be caused by ingredients like buttermilk, lemon juice, yogurt, citrus or honey. When excessive acid is present, some of the baking powder should be replaced with baking soda. For example, one cup of flour, one egg, and one cup of buttermilk requires only ½ teaspoon of baking powder—the remaining leavening is caused by buttermilk acids reacting with ¼ teaspoon of baking soda.
On the other hand, with baking powders that contain sodium acid pyrophosphate, excess alkaline substances can sometimes deprotonate the acid in two steps instead of the one that normally occurs, resulting in an offensive bitter taste to baked goods. Calcium compounds and aluminum compounds do not have that problem though, since calcium compounds that deprotonate twice are insoluble and aluminum compounds do not deprotonate in that fashion.
Moisture and heat can cause baking powder to lose its effectiveness over time, and commercial varieties have a somewhat arbitrary expiration date printed on the container. Regardless of the expiration date, the effectiveness can be tested by placing a teaspoon of the powder into a small container of hot water. If it bubbles vigorously, it is still active and usable.
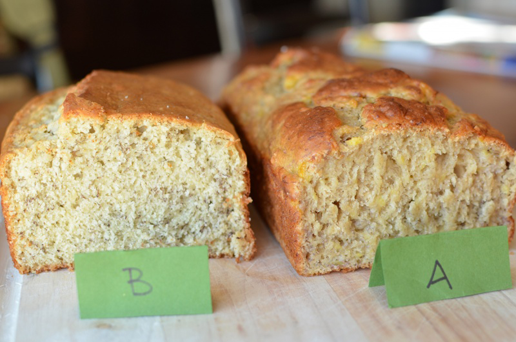
Different brands of baking powder can perform quite differently in the oven. In one test, six U.S. brands were used to bake white cake, cream biscuits, and chocolate cookies. Depending on the brand, the thickness of the cakes varied by up to 20 percent (from 0.89 inches to 1.24 inches). It was also found that the lower-rising products made what were judged to be better chocolate cookies.
How to store Baking Powder to extend its shelf life?
Baking powder should be kept in a covered container in the cool dark place (the pantry) away from moisture. If it gets wet, it will begin to stop doing its job. Double acting baking powder actually works once with the addition of liquid and then again with the addition of heat.
Some benefits of proper food storage include eating healthier, cutting food costs and helping the environment by avoiding waste.
Other Facts
In addition to its use in baking, it is also used in the production of effervescent salts in medicine to prevent excess stomach acidity and in various types of fire extinguishers.
Once opened, baking powder usually lasts about 6-9 months.
Do not store baking powder in the refrigerator as condensation on the can will ruin it.
Baking powders were first sold in the first half of the 19th century.
Double acting baking powder was invented in 1889 by William M. Wright and chemist George Campbell Rew.
Baking soda cannot be substituted for baking powder. Recipes that call for baking soda also require an acid, but baking powder is used alone.
The molecular formula of baking soda is NaHCO3, but baking powder is a mixture and therefore it does not have a chemical formula.
Recipes
1. Savory Cheese Cookies
Ingredients
1 cup room temperature butter
1/2 cup finely grated aged cheese, such as Gouda or Parmesan
Red or green coarse decorating sugar, for decorating
Instruction
Sift the flour and baking powder into a bowl, then whisk in the salt. In the bowl of a stand mixer fitted with the paddle attachment, combine butter and granulated sugar and beat on medium speed for about 3 minutes, until light and creamy. Add the eggs, one at a time, beating after each addition until incorporated. Add the vanilla and beat until combined. On low speed, add the flour mixture and beat just until incorporated.
Scrape the dough onto a lightly floured work surface and divide it into three equal portions.
Using your hands, shape one portion into an even 4 by 6-inch rectangle. Wrap the rectangle in plastic wrap.
Return one of the remaining dough portions to the mixer bowl, add the red gel food coloring, and mix the dough on low speed until evenly colored. Dust the work surface with fresh flour, scrape the red dough out onto it, and then shape the dough into an even 4 by 6-inch rectangle. Wrap the rectangle in plastic wrap.
Wash and dry the mixer bowl and paddle, then repeat with the remaining portion of dough, adding the green gel food coloring and shaping the dough into a rectangle. Refrigerate all of the dough for 30 minutes.
Spoon the coarse sugar onto a large, flat plate or baking pan, creating a thin, even layer.
On a lightly floured, large work surface, roll out each dough rectangle into a rectangle about 11 by 7 inches.
Starting with the white dough as the base, stack the rectangles on top of one another. Run the rolling pin over the stack a few times to make sure everything is even and to compress it a little. The stack will roll out a few inches larger. Now, using a sharp knife, trim off a very small amount on all sides to create a perfect rectangle of about 13 inches by 10 inches. Starting from a long side, roll up the stack tightly to create a log. Roll the log in the coarse sugar, coating it evenly, then wrap the log tightly in plastic wrap and refrigerate for at least 4 hours or up to overnight, turning it a few times to prevent it from developing a flat side.
Position two oven racks, evenly spaced, in the middle of the oven and preheat to 350°F. Line two baking sheets with parchment paper.
Using a sharp knife, cut the log into 1/4-inch-thick slices. Arrange fifteen slices on each of the prepared baking sheets, spacing them evenly (hold the remaining slices in the fridge until ready to bake).
Bake the cookies for 14 to 16 minutes, until a little puffed and set to the touch, switching the baking sheets between the racks halfway through the baking time. Transfer the baking sheet to wire racks and let cool for 5 minutes, then carefully transfer the cookies to the racks and let cool completely before serving.
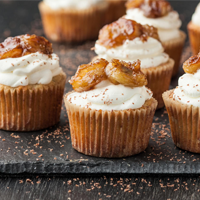
3. Banana Cupcakes
Ingredients
For the cupcakes:
2-3 overripe medium bananas (see note on ripening in intro)
Set out all your ingredients. Peel and mash the bananas—you need 1 cup of chunky purée for this recipe.
Heat the oven to 350°F and arrange a rack in the middle. Line the walls of 2 cupcake tins with paper liners; lightly coat with baking spray.
In a medium bowl, whisk together the flour, baking soda, baking powder, salt, cinnamon, cloves, and nutmeg. Set aside.
In a stand mixer fitted with the paddle attachment, beat the butter at medium speed until light in color, about 1 minute. Add both sugars and beat until very light and fluffy, about 5 minutes. Beat in the eggs one at a time, making sure each is incorporated before adding the next. Next, add in the one cup of mashed banana. Add the vanilla.
On the lowest speed, add the flour mixture in three parts, alternating with the buttermilk in two parts, beginning and ending with the flour. Mix until just incorporated (over mixing will make the cupcakes tough).
Spoon the batter into the prepared tins, each no more than 3/4 full.
To make the buttercream:
Add the whipped butter to the bowl of a stand mixer fitted with the paddle attachment and beat on medium-high speed until light in color and fluffy, 10 to 15 minutes. Scrape into a mixing bowl and set aside.
Fill a medium saucepan about a quarter full of water. Bring to a simmer over medium heat.
Whisk the egg whites and sugar by hand In the immaculately clean bowl of your stand mixer. Place the bowl over the simmering water and whisk vigorously and continuously until the sugar has fully dissolved and the whites are hot to the touch, about 3 to 5 minutes.
Place bowl into the stand mixer fitted with the whisk attachment. Whisk at high speed until the mixture is glossy and firm and has tripled in volume. Reduce speed to medium and add the whipped butter about 1 cup at a time.
To caramelize the bananas:
Combine the sliced bananas, dark brown sugar, and butter in a large cast iron or nonstick frying pan over medium-high heat. Cook until the bananas have browned and the sugar has caramelized.
Set aside to cool completely.
To assemble:
Ice the cupcakes with buttercream, using a pastry bag or a zipper-top storage bag with one of the corners snipped off. Top with caramelized banana slices.