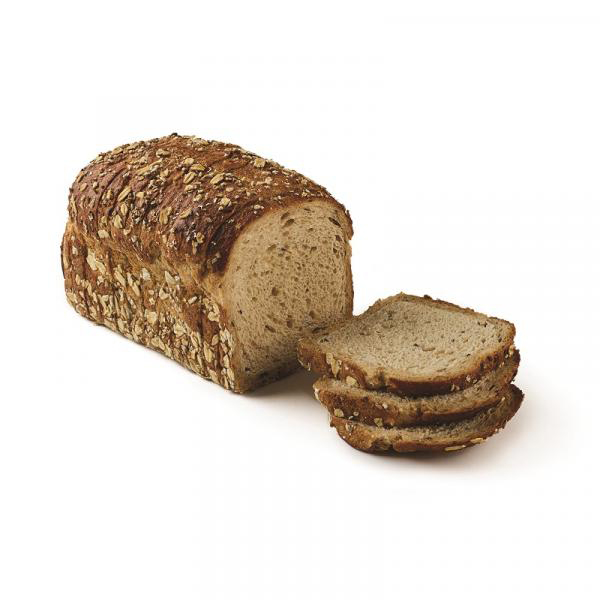
Sprouted bread is a bread type which is made from whole grains sprouted to germinate before milled into flour. It differs from white bread because white bread is made from ground wheat endosperm. The breads made with whole grain include germ, bran and endosperm which provide much fiber and naturally occurring proteins and vitamins. The nutritional analysis made showed that sprouted grains contains 75% of carbohydrates, 40% of fat and slightly higher protein in comparison to whole grains. Sprouted breads have more trace minerals and nutrients in comparison to non-sprouted breads.
Sprouted flour means using the whole kernel i.e. the entire grain or seed. And germination of grains and seeds literally enhance their nutritional benefits which allow receiving the maximum nutritional benefit inherent in the grain. When a seed is germinated by soaking in water, this activates enzymes that initiate the transformation of the germ into a viable growing organism. To support that process, the nutritional value of the seed improves. In addition, sprouting softens the bran, reduces its phytic acid (which inhibits nutrient absorption), renders it less bitter, and makes the grain’s minerals more bioavailable. And when those grains or seeds are ground into flour, the resulting bread tastes better, is higher in nutrients, and is also easier to digest, allowing the body to access more of its nutrients. Anecdotal reports also indicate that some people who are usually sensitive to wheat can tolerate sprouted wheat without typical reactions, such as indigestion or rashes.
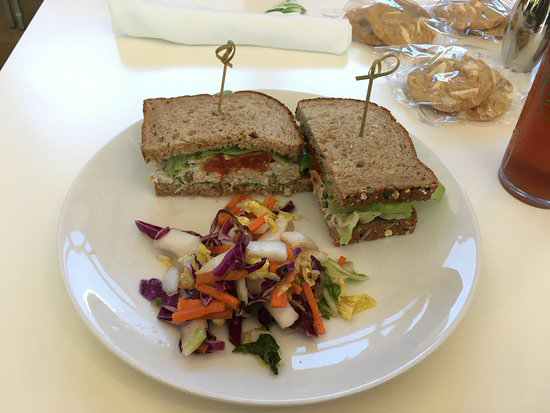
Sprouted bread is a great alternative to whole grain flour bread or white flour bread. It is gaining much popularity among health conscious people and also with mild sensitivities to wheat or gluten.
Eliminates phytic acid
Regular bread contains phytic acid which is considered to be an enzyme inhibitor and mineral blocker. Also called phytates, phytic acid is found in seeds and nuts, grains and beans. Phytic acid could be eliminated by soaking grains and sprouting it. Soaking destroys phytic acid that essentially unlocks nutrients so that body could absorb iron, magnesium, zinc and phosphorus which are found in whole grains.
Digestible proteins
Sprouted grains have more digestible proteins and gluten. Gluten is a sticky protein found in wheat which causes intestinal inflammation leading to problems such as leaky gut syndrome. Sprouted grains assist the gluten to predigest so that it could be easily break down and digest.
High fiber content
Sprouted grains are easier to digest with high content of fiber and whole food based nutrients. Studies have shown that sprouting seeds promotes the fiber content. It also increases the concentrations of crude fiber which is a fiber that makes up plant’s cell walls. Literally, fiber could not be absorbed by the body within digestive tract but assist to push toxins and waste out of the gut and also regulates bowel movements.
Blood sugar regulation
Sprouted breads have low level of carbohydrates which impacts blood sugar levels. Grain uses energy in starch to sprout and begins to grow so it has low content of carbohydrates. This bread has low content of carbs which causes few spikes and drops in blood sugar that makes it a perfect choice for people having high chances of diabetes.
Balances cholesterol level
Sprouted grains are related to lower chances of heart diseases and low blood pressure. Sprouted bread has high content of dietary fiber which helps to lower cholesterol level by eliminating excess bad cholesterol from the body. Moreover, Vitamin C enhances the collagen production and strengthens arteries and blood vessels.
Liver function
Liver is a vital organ and is prone to various threats such as fatty liver disease. Sprouted bread possess low content of fats in comparison to traditional grain based breads and is related with healthy liver function by eliminating toxins.
Digestive health
Sprouted bread is rich in dietary fiber in comparison to white bread and whole grain bread. Moreover, dietary fiber means to optimize digestion and excretion, prevent constipation, cramping, bloating and cramping with an improvement of nutrient absorption.
Anti-allergenic effects
Bread made with sprouted legumes and grains limits allergic response of the body. It signals immune system not to react and cause inflammation in the body.
Sprouting and Drying Grains for Flour
Before the recipes, briefly review the process of sprouting seeds and preparing them for milling.
Rinse the seeds in fresh, cool water. Some seeds, including quinoa, are coated with a bitter resin, and these require two or three rinses.
Cover the seeds in fresh water and let them sit at room temperature for about 3 to 5 hours.
Drain the water and rinse and drain the seeds again. The germination process has begun.
Rinse the seeds again before retiring for the night, and let them drain in either a strainer, a jar fitted with a screened lid, or any container that allows the water to drain away.
The following morning (or later if the room is cool), you should see the beginning of a sprout: a nub breaking through the skin, or bran, of the seed. Technically, the seed is a sprout as soon as the nub appears, but the ideal time to move to the drying step is when the nub splits into two thin shoots. At this point the seeds have become vegetables and are much more digestible.
Dry the sprouts on a screen or perforated pan, setting up a fan to blow air across the surface. Alternatively, you can use a food dehydrator, but don’t put them in a gas oven, as even just the pilot light can generate too much heat and denature the enzymes. Moving air is really the key, whether at room temperature or slightly warmer. The shoots will shrivel back into the seeds as they dry out. About 12 hours later, the seeds will be as dry as they were before you soaked them. They are now ready to be milled into flour. It’s as simple as that.
Recipes for Sprouted Bread
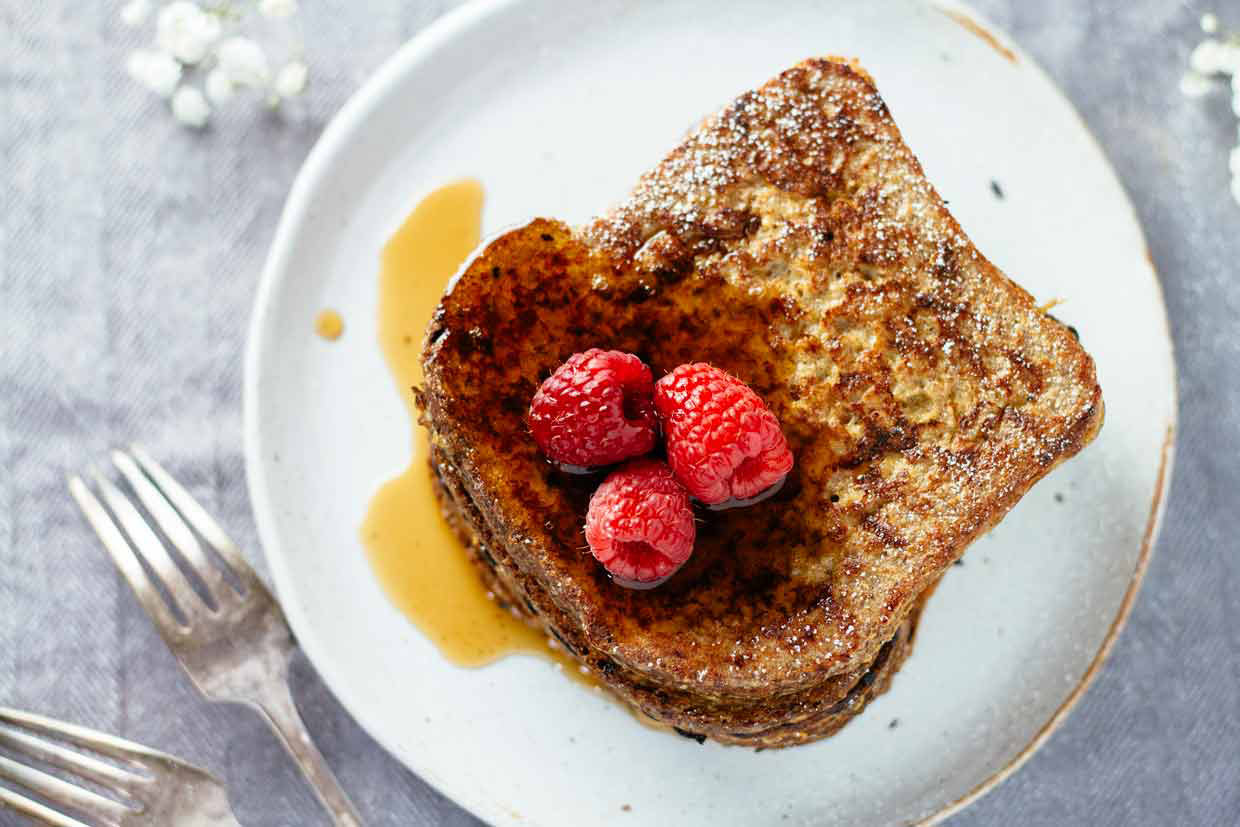
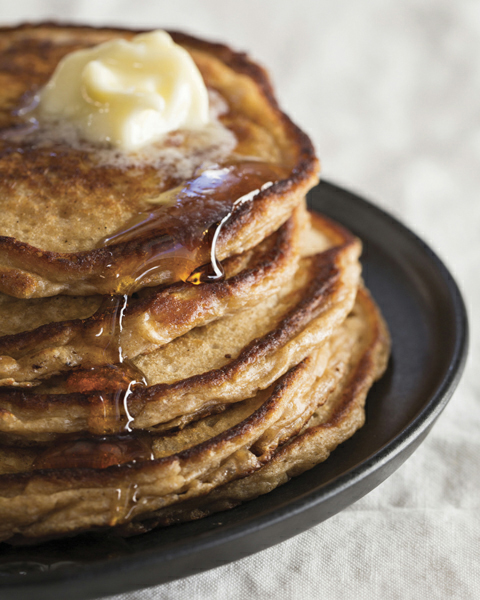
1. SPROUTED WHEAT PANCAKES
Makes 5 large pancakes or 16 silver dollar-size pancakes
Ingredients:
Sprouted whole wheat flour: 1 cup plus 1 tablespoon (4.5 oz / 128 g)
In a medium bowl, stir together the flour, salt, baking soda, and sugar (if using honey or agave nectar, add it to the buttermilk in the next step). In a separate bowl, whisk together the buttermilk, egg, and melted butter, then pour into the flour mixture. Stir with a large spoon just until the flour is hydrated; don’t overmix. The result will be thin and pourable batter; it will thicken slightly as it sits, so don’t add more flour. Transfer batter to a measuring cup with a pouring spout (or leave it in the bowl and portion it with a ladle).
Preheat a nonstick skillet or griddle over medium heat.
Put about 1 teaspoon of butter or oil in the hot pan, just enough to thinly coat the surface. Lower the heat to just below medium. Pour in batter to make pancakes of the desired size. You may need to tilt the pan to spread the batter into an even circle. Cook until the bottom is rich golden brown and bubbles form on the top, 2½ to 3 minutes for larger pancakes, and less for smaller pancakes. Flip and cook until the other side is golden brown, about 2½ minutes.
Serve hot, or keep the pancakes in a warm oven at about 200°F (93°C) while cooking the remaining pancakes.
Variations:
SPROUTED WHEAT FLOUR WAFFLES: This batter could be cooked in a waffle iron. If making waffles, it is recommended doubling the recipe, since the waffle iron gobbles up a lot of batter. Also, separate the eggs. Add the yolks to the batter, and whip the whites until stiff, then fold them into the batter for additional aeration. To cook, follow the instructions for waffle iron.
SPROUTED MULTIGRAIN PANCAKES: Replace about ¼ cup (1.1 oz / 30 g) of the sprouted whole wheat flour with an equal amount of any combination of other sprouted flours, such as corn, buckwheat, millet, sorghum, or quinoa.
BLUEBERRY PANCAKES: Add 1 cup of fresh or frozen blueberries (or other fresh berries) to the batter.
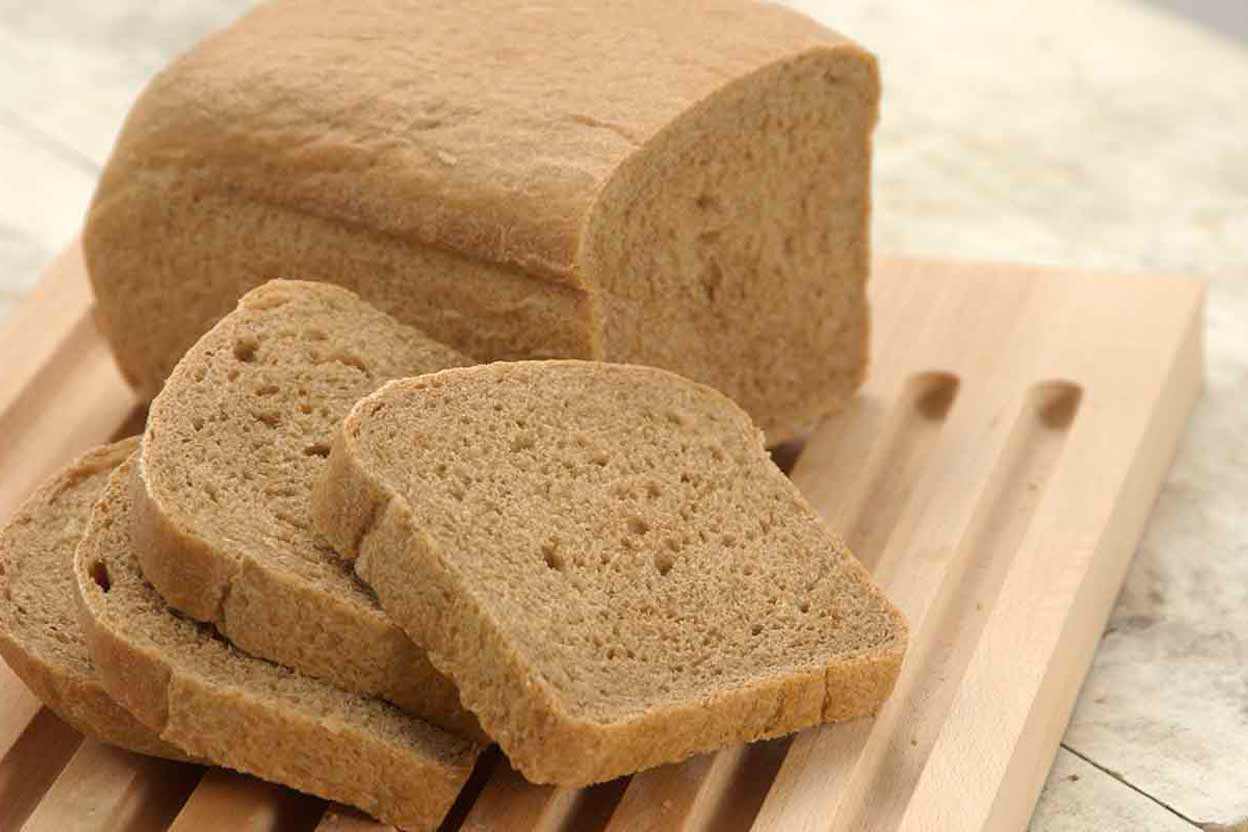
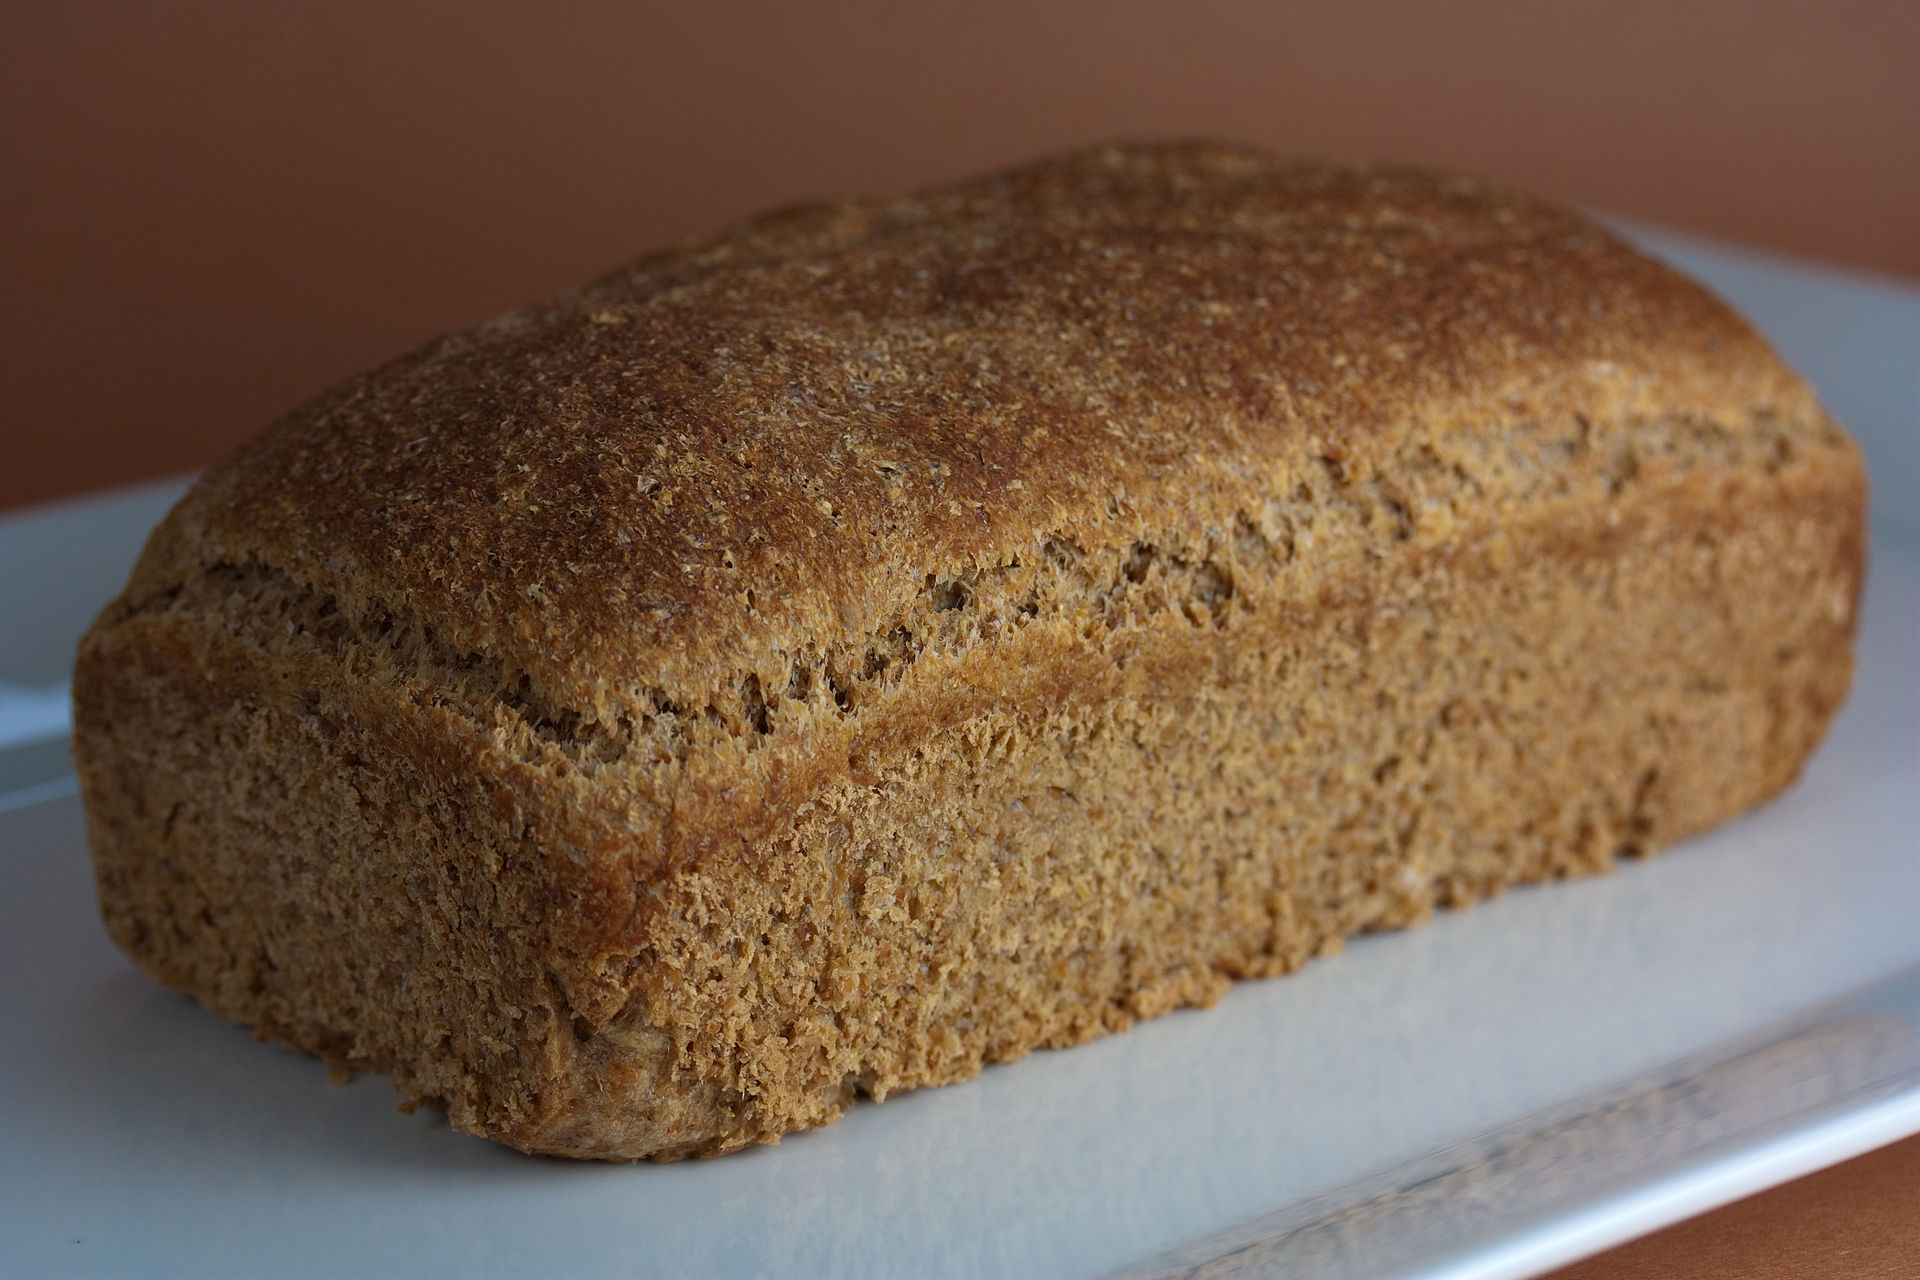
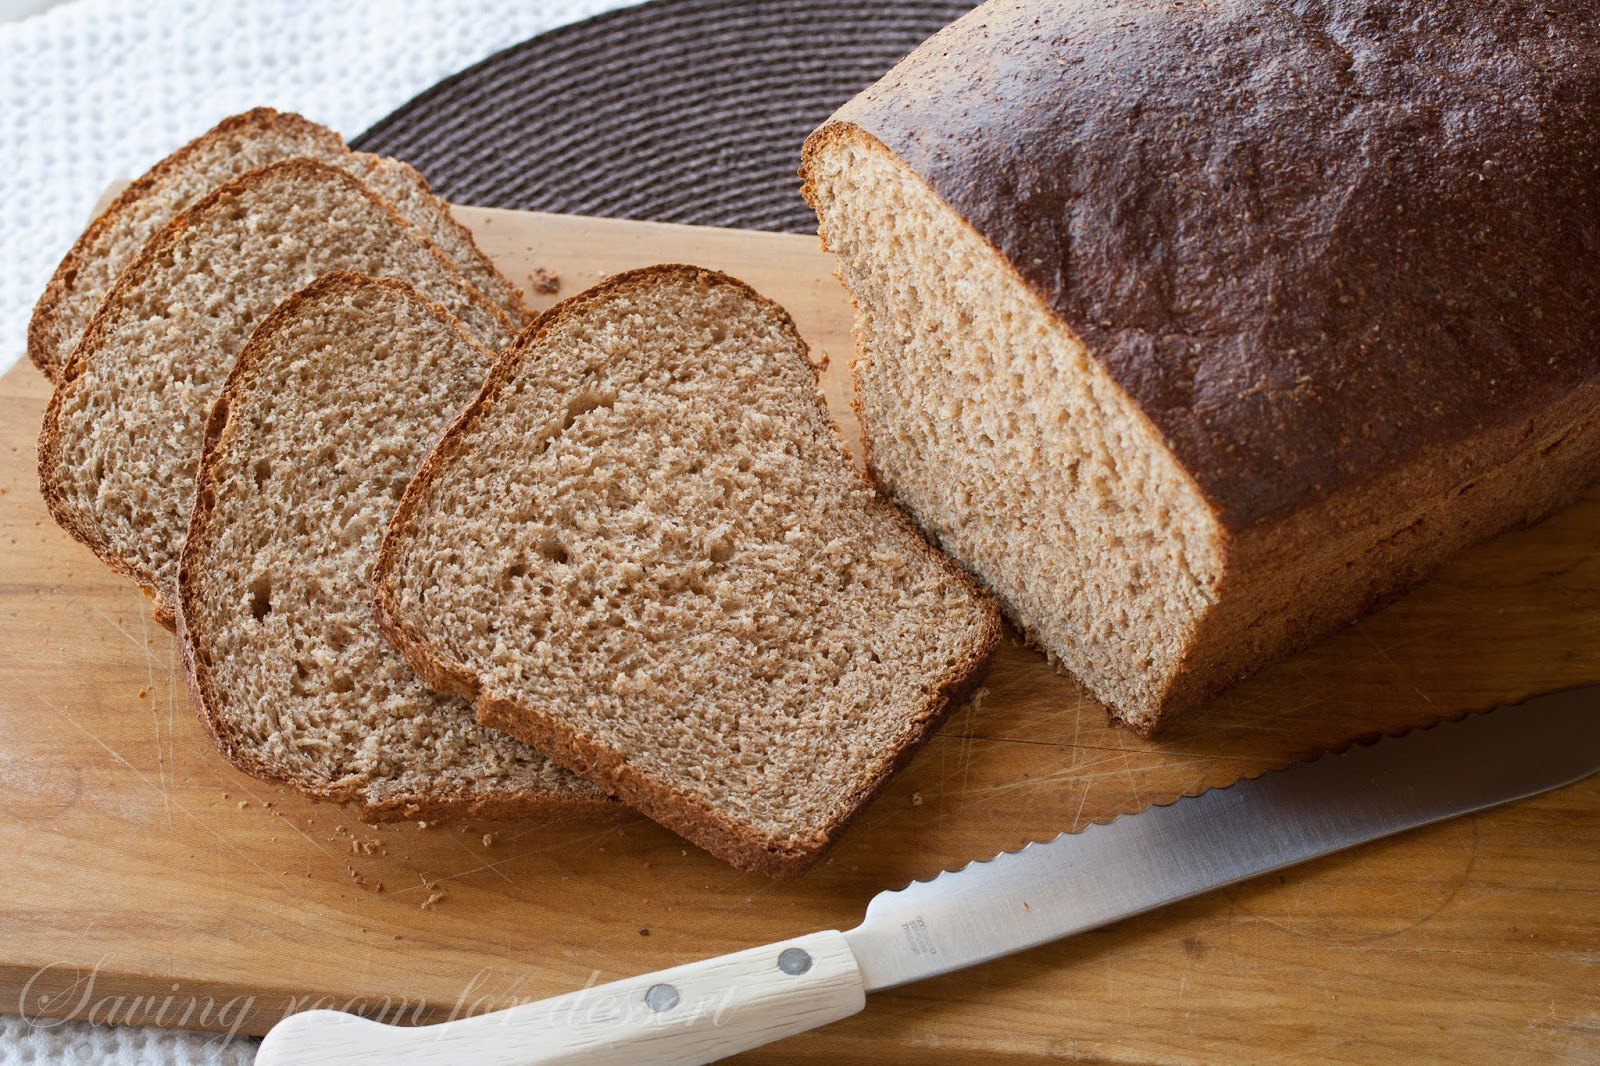
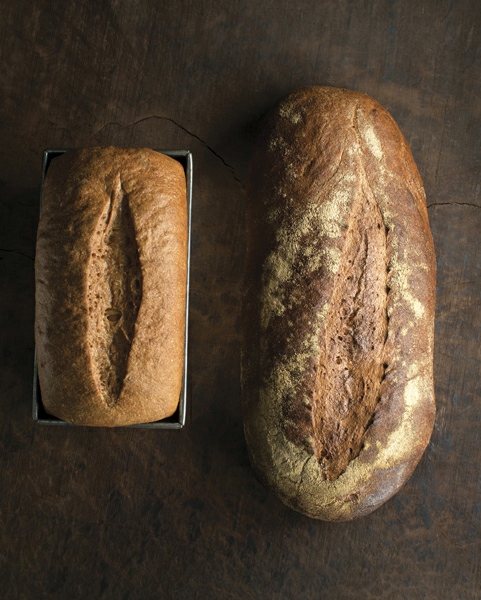
2. SPROUTED WHOLE WHEAT BREAD
Makes 1 large loaf, 2 smaller loaves, or up to 15 rolls
Instant yeast: 1½ teaspoons (0.16 oz / 4.5 g / 1%)
Water, at room temperature: 3¼ cups (14.5 oz / 411 g)
Directions:
In the bowl of a stand mixer fitted with the paddle attachment, or in a large bowl, stir together the flour, salt, and yeast (on low speed if using a stand mixer). Add water and stir till the flour is hydrated and forms a coarse and wet dough, about 1 minute. Don’t add flour, as dough will thicken while it rests.
Let the dough rest, uncovered, for 5 minutes. Then switch to the dough hook or use a wet spoon or wet hands and mix for 1 minute, on medium-low speed if using a stand mixer. The dough should be smooth, soft and sticky. Add flour and water only if necessary to obtain that texture. The dough will firm up when continued to work it.
Spread about 1 teaspoon of vegetable oil or olive oil on a work surface. Using a wet or oiled bowl scraper or rubber spatula, transfer the dough to the oiled area. Lightly oil your hands, then stretch and fold the dough, folding it over itself four times: once each from the top, bottom, and sides. The dough will firm up slightly but still be very soft and somewhat sticky. Cover the dough with the mixing bowl and then, at intervals of 5 minutes or up to 20 minutes, perform three additional sequences of stretching and folding. For each stretch and fold sequence, oil your hands lightly to prevent sticking. The dough will firm up a bit more with each stretch & fold. After the final fold it should be soft, supple, and tacky and have a springy or bouncy quality when patted.
Oil a large bowl and put the dough in the bowl. Mist the top of the dough with vegetable spray oil and cover the bowl with a lid or plastic wrap; if using plastic wrap, stretch it tightly over the bowl rather than laying it directly on the dough. Ferment the dough at room temperature for 1½ to 2 hours, until double in size. (This time can be shortened by using a warm proof box set at about 90°F / 32°C.)
Oil the work surface again and use an oiled rubber spatula or bowl scraper to transfer the dough to the oiled area. For hearth loaves, prepare two bannetons or a couche. Divide the dough in half and shape each piece into a boule or bâtard, then put the shaped loaves in the prepared proofing vessels. For pan loaves, mist two 4½ by 8-inch loaf pans with vegetable spray oil. Divide the dough in half and shape the pieces into sandwich loaves, then put the shaped loaves in the prepared pans. For rolls, with parchment paper or slilicone mats, line two sheet pans. Divide dough into desired number of pieces or shape. Put half of the rolls on each lined pan.
Mist the top of the dough with vegetable spray oil, then cover it loosely with plastic wrap. Proof for 1 to 1½ hours at room temperature, until the dough increases in size by 1½ times. When poked with a finger, it should spring back within a few seconds; if it holds the dimple, it’s risen for too long. (Because the dough is so hydrated, it’s fragile and will fall if you proof it until double in size. It’s better to bake it while it’s still on the rise.)
To bake hearth loaf, about 45 minutes before planning to bake, prepare an oven with baking stone and steam pan, for hearth baking, then preheat the oven to 450°F (232°C). Transfer the shaped loaf to a floured peel (or keep it on the sheet pan for baking). Score. Transfer the loaf onto the baking stone (or put the sheet pan on the baking stone). Pour about 1 cup of hot water into the steam pan. Bake for 15 minutes, then rotate and bake for 15 to 20 minutes longer, until the loaf is golden brown on all sides and sounds hollow when thumped on the bottom. The internal temperature should be about 200°F (93°C). Transfer to a wire rack and let it cool for about 30 minutes before slicing and serving.
Preheat the oven to 375°F (191°C) to bake pan loaves, steam is optional. Bake for 25 minutes, then rotate and bake for 25 to 40 minutes longer, until the bread is golden brown all around, the side walls are firm and not squishy, and the loaf sounds hollow when thumped on the bottom. The internal temperature should be at least 190°F (88°C). Let cool in the pans for at least 10 minutes, then transfer to a wire rack and let cool for at least 20 to 30 minutes longer before slicing and serving.
To bake rolls, preheat the oven to 400°F (204°C); steam is optional. Bake for 12 minutes, then rotate and bake for about 10 to 15 minutes longer, until the rolls are golden brown and sound hollow when thumped on the bottom (they will soften as they cool). The internal temperature should be about 190°F (88°C). Transfer to a wire rack and let cool for at least 10 minutes before serving.
NOTE: If it is more convenient to use an overnight method, put the covered bowl of dough in the refrigerator immediately after the final stretch and fold. The next day, remove it from the refrigerator 2½ hours before baking. Shape the cold dough and proof it at room temperature until it increases in size by 1½ times, then bake as directed.
Precautions
People with leaky gut problems, Celiac Disease and digestive issues should consider that sprouted bread contains gluten and allergenic proteins.