 There are many pros to cultured vegetables. This delicious combination is my favorite. It is PROnounced in zesty flavor, PROlific in live enzymes and life-affirming bacteria, and not PROhibitively expensive. Eating a half-cup of this mix with most meals has literally changed my life, giving me improved digestion and better health. Enjoy these as a quick snack or an accompaniment to cooked dishes, or add them to salads and wraps. Using the starter is optional. I generally don’t use it; however, it does get fermentation going rapidly and assures uniform results from batch to batch. Seven days is how long I typically ferment before I PROclaim this ready!
Ingredients
- ¼ cup (60 ml) warm water (optional)
- 1 tablespoon coconut sugar
- 1 sachet Body Ecology culture starter
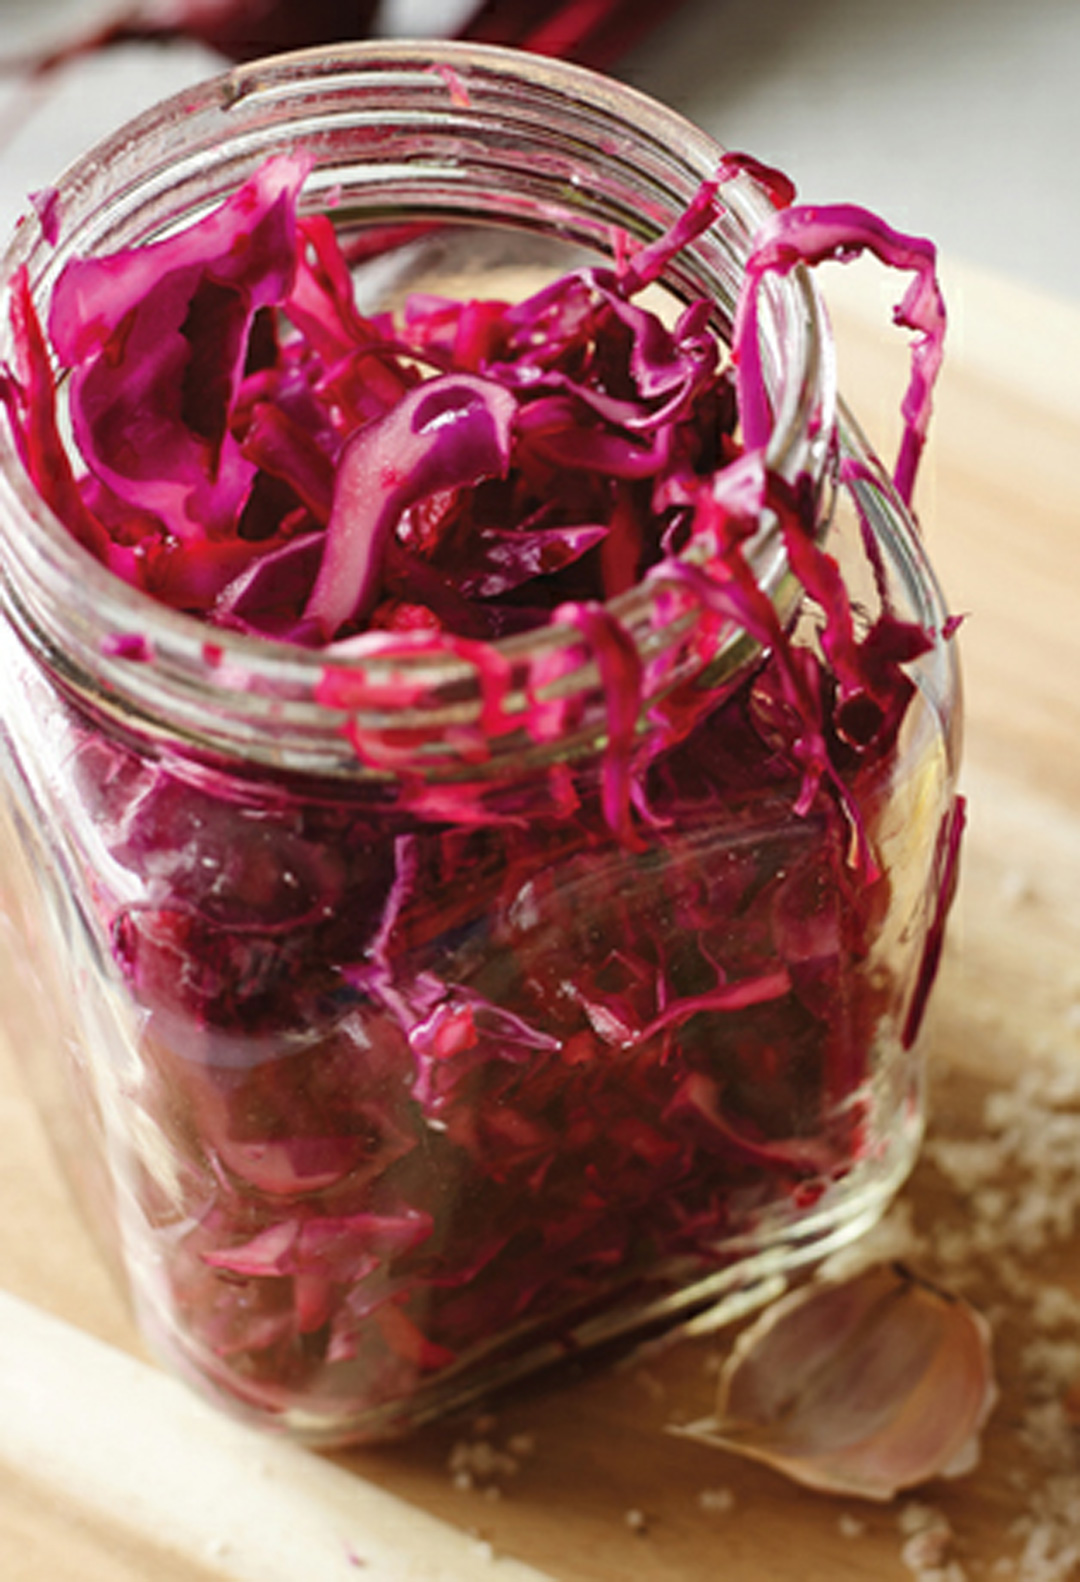
- 2 heads red cabbage
- 6 beets, peeled
- 1 small red onion, peeled
- 1 apple
- 2½ tablespoons natural salt, plus more to taste
- 3 tablespoons grated fresh horseradish (not horseradish sauce)
- 3 tablespoons minced fresh ginger
- 3 tablespoons finely chopped garlic
- ¼ cup (60 ml) plus 2 tablespoons freshly squeezed lemon juice
- 1 teaspoon finely grated lemon zest
How to Make It
- If using the culture starter, combine the warm water and sugar in a bowl and stir until the sugar dissolves. Stir in the culture starter and let sit for at least 20 minutes.
- Remove the outer leaves from the cabbages. Wash these leaves and set them aside. (You will use the outer leaves to pack and seal the jars.) In the bowl of a food processor fitted with the S blade or shredder disc, shred the cabbage, beets, onion, and apple. In a large mixing bowl, combine the shredded veggies with the salt. Using your hands, massage the salt into the vegetables for 3 to 4 minutes. This will begin to draw the liquid from the vegetables (the mixture will reduce significantly in volume). Add the horseradish, ginger, garlic, lemon juice, and lemon zest. Add more salt to taste. (This makes a delicious salad at this point.)
- Measure out 3 cups (660 g) of the vegetables along with some of the juices and put it into your blender. Pulse just a few times, until you have a soupy pulp. (You may have to add a tiny bit of water.) Add the blended veggies back into the shredded mixture and stir well.
- Pack the vegetables as tightly as possible into airtight mason jars or stainless steel canisters using a potato masher or heavy spoon to push the vegetables down. Get out as much of the air as possible. Leave about 2 inches at the top of each container for expansion. Roll 2 or 3 cabbage leaves into tight “cigars” and place them on top of the vegetables to fill the remaining space. Seal the containers and let them sit at room temperature (70°F/21°C) or slightly warmer (which accelerates fermentation) for at least 4 days, but preferably 7 days. The key is to have a stable temperature, so if you don’t have an area that qualifies, wrap the jars in towels and place them in an insulated or thermal chest. In warm weather, the vegetables culture in 3 to 4 days. Don’t let the jars sit in direct sunlight. If you’re using screw-top lids, open the jars halfway through fermentation to let gas escape. You may also have to pour out a bit of the liquid if it rises above the level of the shredded vegetables.
- Taste the vegetables after 3 or 4 days (you should hear them bubbling), and keep tasting every day until they are just right for your preference. Once the veggies are ready, place the containers in the fridge to slow the fermentation. The cultured vegetables will keep in the fridge for up to 8 months.