

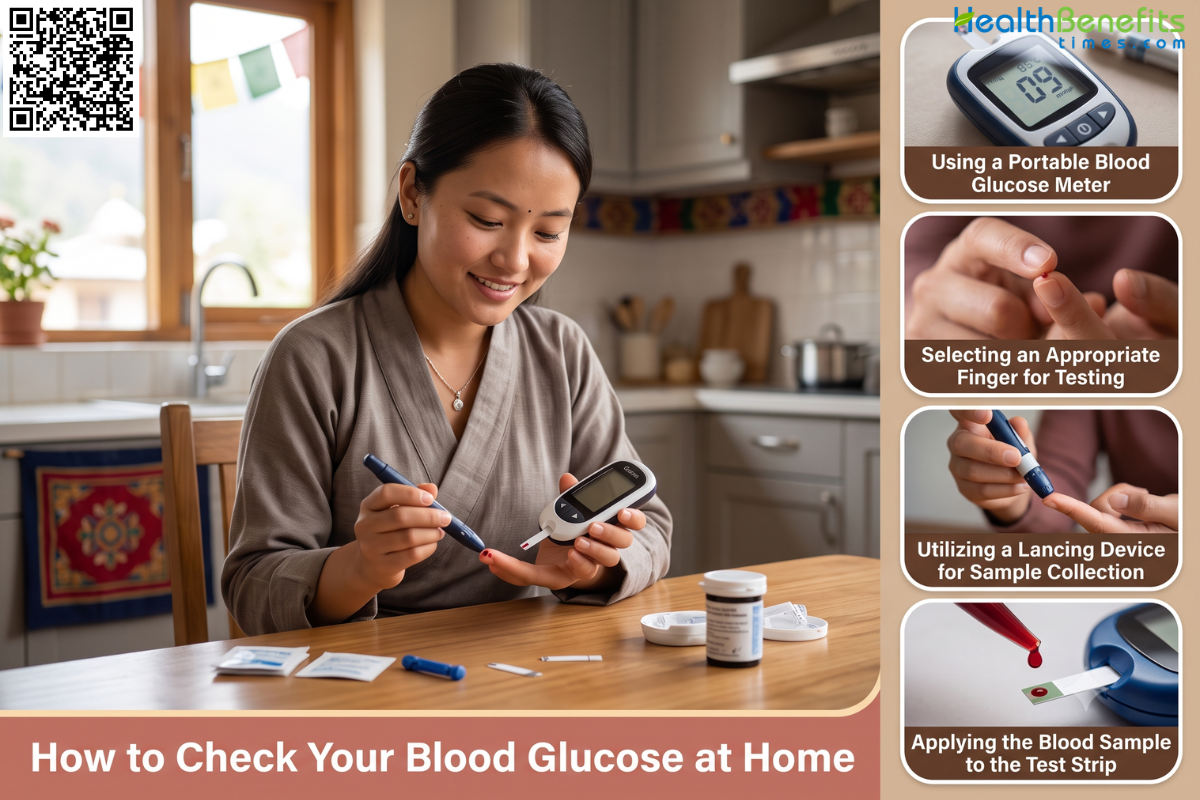
Blood glucose, commonly known as blood sugar, is the primary sugar found in the bloodstream and serves as the main source of energy for the body’s cells, tissues, and organs 1. It is derived directly from the food consumed daily, particularly through the digestion of carbohydrates. The human body strictly regulates these sugar levels to maintain a constant energy supply while preventing the health complications associated with levels that are persistently too high or too low. The pancreas is central to this regulation, releasing a hormone called insulin that allows cells to absorb and utilize glucose effectively 2. Consistently maintaining blood glucose within a normal, healthy range is essential for proper physiological functioning and for preventing serious metabolic conditions such as diabetes.
How to Check Your Blood Glucose at Home
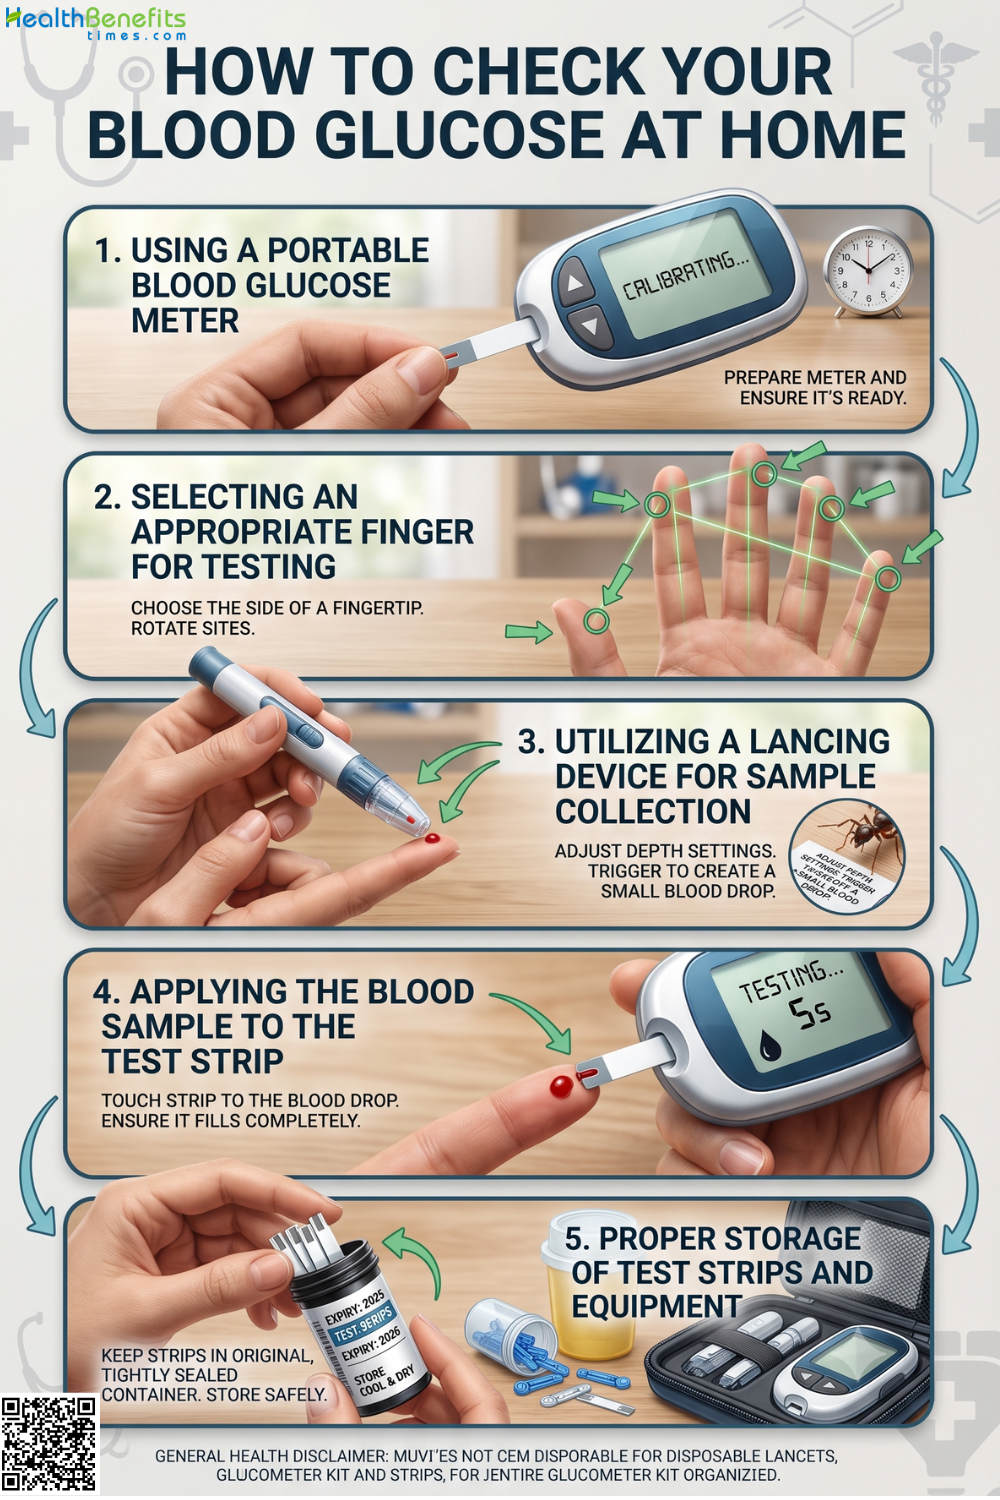
1. Using a Portable Blood Glucose Meter
How it may help
A portable blood glucose meter provides immediate readings of your current blood sugar levels outside a clinical setting. This rapid feedback helps you make informed daily decisions regarding diet, physical activity, and medication timing to effectively maintain healthy target ranges 3.
What research says
Clinical research demonstrates that regular use of a portable blood glucose meter significantly improves overall blood sugar control and effectively lowers A1C levels 4. Consistent self-monitoring is definitively associated with a reduced risk of developing severe, long-term complications related to high blood sugar 5.
How to use it safely
To safely use a glucose meter, always wash your hands thoroughly with warm, soapy water. Insert a fresh test strip into the device. Use a sterile lancing device to gently prick the side of your fingertip, apply a small blood drop to the strip, and record the reading.
Potential precautions or side effects
Never share lancing devices or needles, as this carries a high risk of transmitting bloodborne infections 6. Ensure your fingers are completely dry to prevent inaccurate, diluted meter results.
2. Selecting an Appropriate Finger for Testing
How it may help
Choosing the proper finger and targeting the side of the fingertip significantly reduces pain during blood collection. The sides of the fingers have fewer nerve endings but maintain excellent blood flow, ensuring an adequate sample size for accurate meter readings without causing unnecessary discomfort 3.
What research says
Clinical studies demonstrate that fingertip testing provides the most accurate and up-to-date blood sugar measurements, especially when glucose levels change rapidly. Research confirms that alternative testing sites, like the forearm, often exhibit delayed readings compared to capillary blood drawn directly from the fingers 7.
How to use it safely
Wash your hands thoroughly. Select your middle or ring finger, as these are used less frequently for daily tasks. Prick the side of the fingertip rather than the center pad. Always rotate which finger you use daily to prevent the development of painful calluses 5.
Potential precautions or side effects
Repeatedly testing the exact same spot causes localized soreness, bruising, and hardened calluses. Avoid testing the thumb and index finger, as they are heavily relied upon for gripping.
3. Utilizing a Lancing Device for Sample Collection
How it may help
A lancing device safely houses a small, sterile needle to pierce the skin for a blood sample. These devices feature adjustable depth settings, allowing individuals to draw an adequate blood drop while effectively minimizing pain and skin trauma during daily glucose testing 3.
What research says
Clinical evidence confirms that using a fresh, single-use lancet for every test significantly reduces pain and prevents tissue damage. Research also emphasizes that dedicating a single device to one person definitively prevents the transmission of bloodborne pathogens, ensuring testing remains safely hygienic over time 6.
How to use it safely
Insert a new, sterile lancet into the device before each test. Adjust the puncture depth dial to the lowest effective setting for your skin. Press the device firmly against the side of your fingertip, press the button, and safely discard the used needle in a designated sharps container 8.
Potential precautions or side effects
Never share a lancing device with anyone, as this heavily risks spreading bloodborne infections like Hepatitis B 6. Reusing needles blunts the tip, causing increased pain and skin scarring.
4. Applying the Blood Sample to the Test Strip
How it may help
Properly applying the blood sample ensures the test strip absorbs sufficient volume to trigger the meter’s internal chemical reaction. This precise application guarantees an accurate, immediate measurement of current sugar levels, minimizing frustrating machine errors and preventing the need for repeated, painful finger pricks 3.
What research says
Clinical evaluations confirm that applying an insufficient blood volume, known as under-dosing, is a primary cause of inaccurate glucose meter readings 7. Research emphasizes that drawing a well-formed blood drop and applying it in a single continuous motion ensures the most reliable measurements for maintaining metabolic control 5.
How to use it safely
Wait for your glucose meter to display the required prompt symbol. Gently touch the very edge of the test strip directly to the blood drop. Do not smear the blood. Allow the strip’s internal capillary action to automatically draw the fluid inside 3.
Potential precautions or side effects
Never smear the blood or attempt to add a second drop to the same strip, as this consistently produces false, inaccurate diagnostic readings 9.
5. Proper Storage of Test Strips and Equipment
How it may help
Properly storing test strips and testing equipment preserves the integrity of the chemical enzymes used to measure blood sugar. Maintaining these sensitive supplies in optimal conditions guarantees precise, reliable immediate readings, which is essential for safely adjusting daily medication doses and effectively managing overall metabolic health 9.
What research says
Clinical studies demonstrate that exposing test strips to extreme temperatures or high humidity rapidly degrades their reactive enzymes, resulting in significantly flawed glucose measurements 7. Research confirms that improper storage is a leading external cause of diagnostic errors, directly increasing the risk of dangerous metabolic events 5.
How to use it safely
Keep test strips tightly sealed in their original vial immediately after removing a single strip. Store the vial and glucose meter in a cool, dry place at room temperature. Always check the expiration date printed on the container before testing your blood sugar 3.
Potential precautions or side effects
Never store testing supplies in a bathroom or a hot vehicle, as moisture and heat destroy the strips 9. Using expired or damaged strips yields dangerously inaccurate readings.