

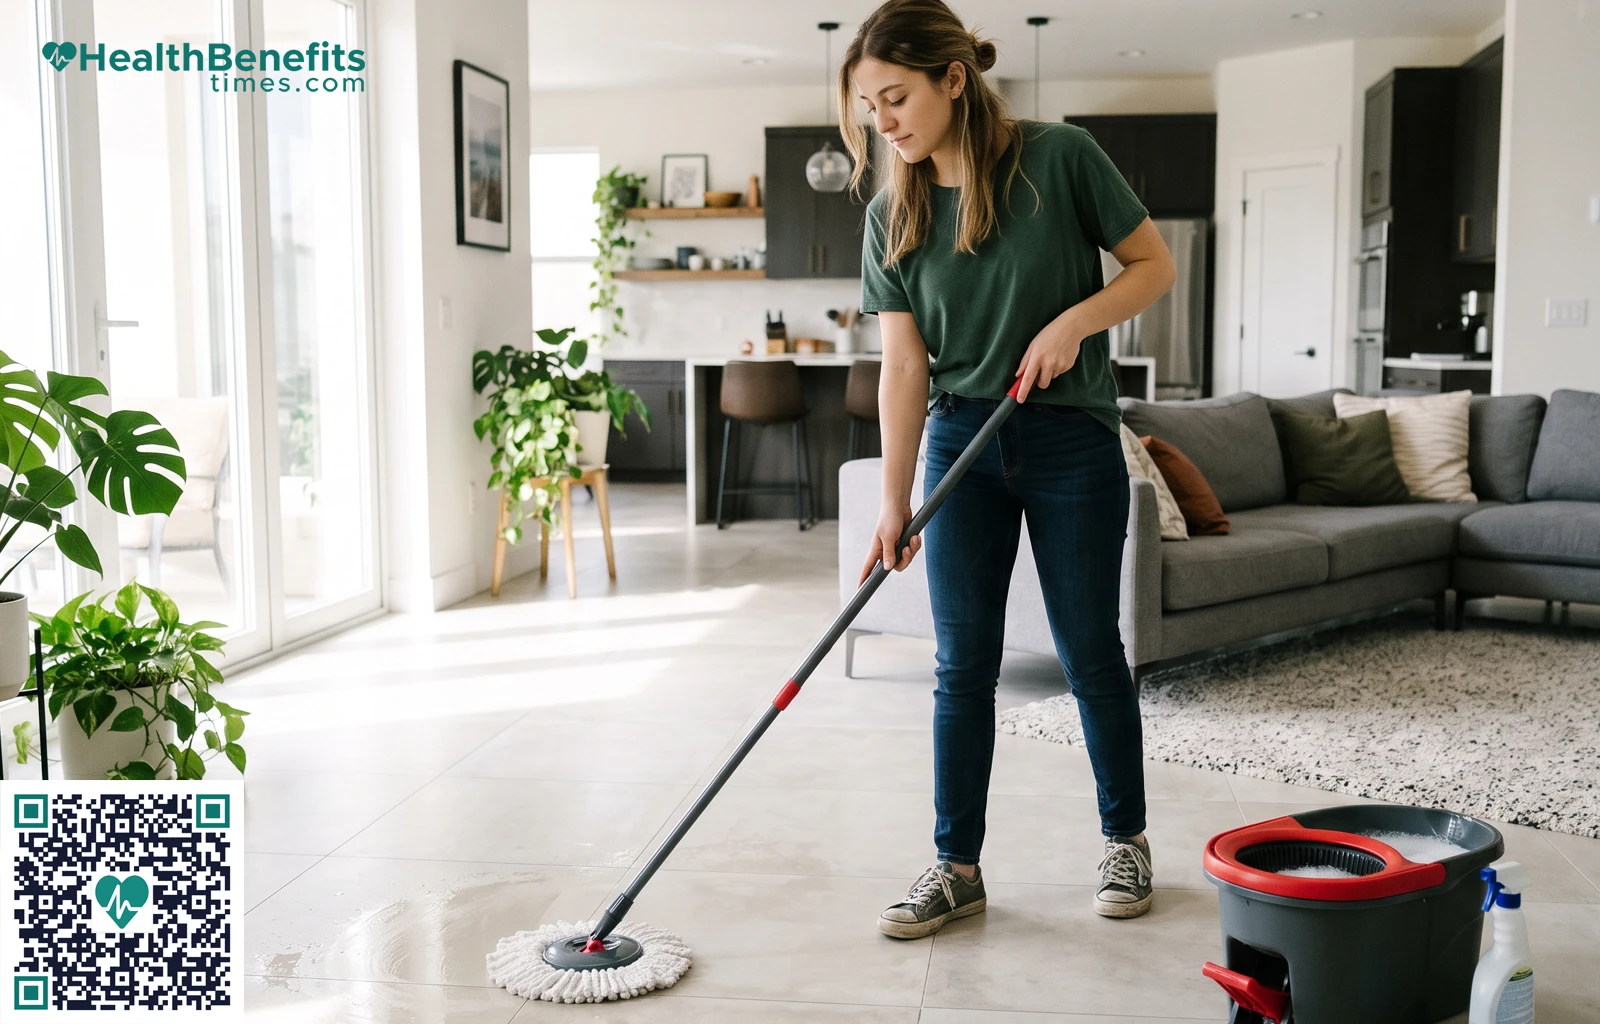
Spills happen. That’s just a fact of life at home, whether it’s a splash of plain water, a puddle of cooking oil, a pet accident, or something you can’t quite identify. How you respond should depend on what spilled, where it landed, how much of it there is, and whether anyone’s health could be at stake. For some liquid messes, a wet & dry vacuum can speed things up and leave a more thorough result, though any tool like this needs to be used exactly as the manufacturer intends and simply isn’t right for every substance. Before you grab anything, though, it’s worth understanding that removing a spill, cleaning a surface, and disinfecting it are three separate steps—and they don’t always need to happen together. This article covers how to assess a spill, pick the right approach, sidestep common mistakes, and protect both your surfaces and the people living in your home.
Assess the Spill Before Cleaning
Identify the substance
Not all liquids behave the same way once they hit the floor. Clean water evaporates and rarely does lasting harm. Food and drink can stain and draw pests if they’re left sitting too long. Grease and oil spread easily and work their way into porous materials. Pet waste and other biological messes bring contamination risks that a quick wipe won’t solve. Cleaning products, solvents, and unidentified liquids call for extra caution—never treat them like an everyday spill. When you’re not sure what you’re dealing with, check the product label or safety data sheet before touching the area.
Check the surface and surrounding risks
Think about where the spill landed: hard flooring, carpet, wood, stone, tile, or somewhere near electronics. Each of these carries its own set of risks, from slipping and staining to swelling, electrical shock, or moisture trapped where you can’t see it. Keep kids and pets clear of the area until you’ve confirmed it’s safe.
Consider two everyday scenarios: a glass of water spilled on ceramic tile versus cooking oil spilled on unfinished wood. The water is simple—blot it up, wipe the tile dry, and you’re done in seconds. The oil is a different story; it will soak into the wood grain almost immediately if you don’t absorb it fast, and scrubbing at it will only spread the stain further. Spotting these differences before you start cleaning saves you effort and keeps you from making the damage worse.
Assemble the Right Tools
A basic spill-response kit should include absorbent towels, disposable or reusable gloves, a bucket of clean water, a mild detergent suited to the surface, a soft brush or cloth, appropriate extraction equipment, and some waste bags. A standard dry vacuum should never touch liquid, especially if moisture could reach its electrical components. Always check an appliance’s manual before using it on anything wet, or confirm it has attachments designed for that purpose. Small spills usually just need absorbent material; larger volumes of a compatible liquid are where extraction equipment earns its keep. Whenever you’re using a cleaning product, make sure the room has decent airflow. And honestly, following the instructions printed on the label or in the equipment manual will serve you far better than whatever tip you saw online.
A Practical Method for Ordinary Liquid Spills
Make the area safe. Block off foot traffic, move nearby electrical devices if it’s safe to do so, and avoid touching unknown liquids with bare hands. Gloves are a good idea if there’s any chance the substance could irritate skin or carry biological contamination.
Remove excess liquid. Blot rather than rub when you’re working with carpet, upholstery, or any textured surface, and work from the outer edge inward so you don’t spread the mess further. For bigger spills, remove the liquid gradually using equipment built for that job.
Clean the remaining residue. Apply a surface-appropriate cleaner in the recommended amount, and don’t oversaturate wood, laminate, or carpet backing in the process. Rinse or wipe away any leftover detergent if the surface instructions call for it.
Dry the area completely. Clean towels, airflow, or ventilation all help—and don’t forget to check seams, edges, and the spots underneath movable furniture. Moisture that lingers can lead to odors, material damage, or worse, microbial growth.
Quick decision guide:
– Small, harmless spill: blot and wipe.
– Large water spill: remove excess liquid, then dry thoroughly.
– Greasy spill: absorb first, then apply a compatible degreasing cleaner.
– Unknown or hazardous liquid: isolate the area and seek appropriate guidance.
Cleaning Versus Disinfecting
Cleaning gets rid of dirt, debris, and a fair number of germs, while disinfecting involves a product meant to reduce whatever microorganisms are left behind. For most routine household spills, cleaning with soap and water does the job just fine. Disinfection becomes more important when someone in the home is sick or when bodily fluids are involved, according to public health guidance from the CDC. As a rule, surfaces should be cleaned of visible dirt before you disinfect them, unless the product you’re using is formulated to do both at once.
Always read the disinfectant label for approved surfaces, the right dilution, required contact time, protective equipment, and ventilation needs. Never mix bleach with other cleaning products—combining chemicals like bleach and ammonia can produce dangerous fumes. Household disinfectants aren’t meant for people, pets, food, or skin unless the label specifically says otherwise. And “contact time”—how long a surface needs to stay visibly wet for the product to actually work—is a detail worth checking every single time.
Surface-Specific Considerations
Tile and sealed vinyl generally hold up well to damp cleaning, but seams and edges still need to be dried so moisture doesn’t creep underneath. Skip the abrasive tools, since they can scratch the finish. Carpet and upholstery respond best to blotting and controlled moisture—too much water can push a spill deeper into the padding, so heavy contamination or lingering odors are often best left to a professional. Wood and laminate floors need liquid removed quickly, with as little standing water and scrubbing as possible; check the manufacturer’s care instructions before applying any cleaner. For electronics, disconnect the power only if it’s safe to do so, never pour or spray liquid directly onto powered equipment, and consult the manufacturer’s guidance if liquid has made its way into the housing.
Common Mistakes to Avoid
Most spill-related headaches trace back to rushed or careless habits: running a dry-only vacuum over liquid, scrubbing a stain like it owes you money, mixing cleaning chemicals, drowning a surface in detergent or water, overlooking moisture hiding beneath rugs or appliances, disinfecting before the visible dirt is cleaned, skipping the product label, reusing a contaminated cloth, or letting kids and pets back into an area before it’s fully dry and any fumes have cleared.
When Professional Help Is Appropriate
Some situations go beyond what a routine home cleanup can handle. Sewage, significant bodily-fluid contamination, unknown chemical spills, large-scale water intrusion, mold-like growth, or damage to walls, flooring, or electrical systems all call for professional attention—particularly when you can’t safely pin down or control the source of the contamination. If a hazardous exposure does occur, contact emergency services or your local poison-control resource right away.
Practical Prevention Strategies
Keep absorbent towels and gloves somewhere within easy reach, store cleaning products securely with their original labels intact, and place mats near entrances and other water-prone spots. It’s also worth periodically checking washing-machine hoses, sinks, and refrigerators for leaks, keeping liquids well away from electronics, and teaching kids which substances they shouldn’t touch. A simple household habit of isolating spills quickly and airing out the room can keep small accidents from snowballing into bigger problems.
Final Takeaways
Effective spill cleanup really comes down to a consistent process: identify the substance, make the area safe, remove the excess liquid, clean appropriately for the surface, and dry everything thoroughly. The right method always depends on what spilled and where it landed. Equipment can certainly help with the right kind of mess, but it’s no substitute for safety checks, label instructions, or professional help when things take a turn for the hazardous. It might be worth putting together a small spill-response kit today and taking a few minutes to review the care instructions for the surfaces and products you rely on most at home.